
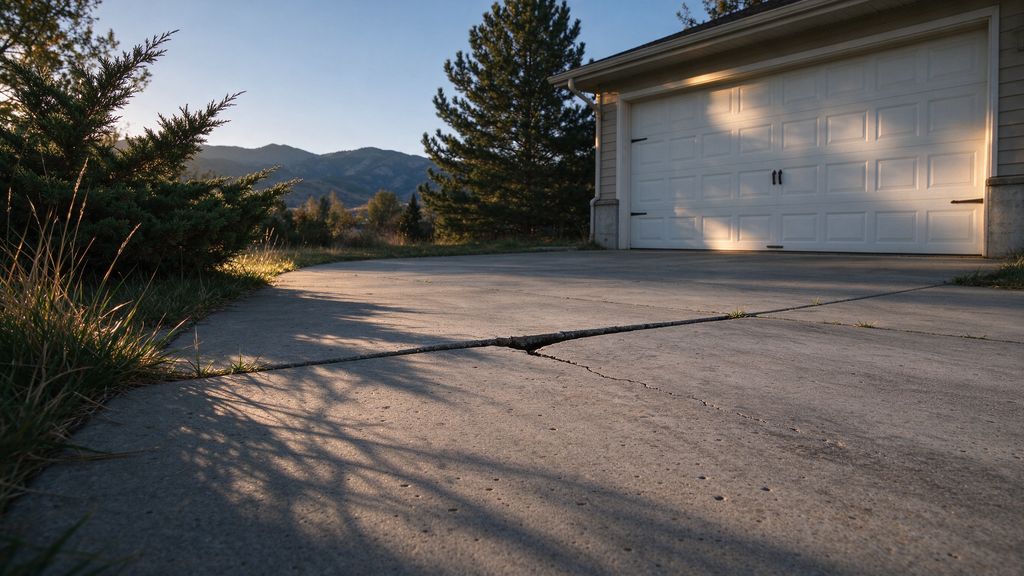
Before the crew arrives
Most of what goes wrong on lift day starts with something nobody checked the week before. A little preparation saves a lot of argument later.
- Clear the slab. Move cars, planters, furniture and anything stored on a garage floor. Equipment needs a path from the street, often a hose or line run from a truck or trailer.
- Mark what is buried. Flag sprinkler heads and lines, low-voltage lighting, and anything you know runs under the slab: sewer cleanouts, gas or water lines, radiant heat tubing, pool plumbing. Ask the crew how they check for buried utilities. If any digging is involved, Colorado 811 must be contacted before work.
- Agree on targets. "Level" is not a specification. Agree on which panels move, roughly how far, and which way each should drain. Patios and stoops should fall away from the house.
- Read the crack clause. Know in advance what happens if a panel cracks during the lift. Get it in writing.
Take dated photos of every panel, joint and the foundation wall next to the work, with a level and tape in frame. If something changes during the job, you will have a before.
During the lift
Drilling
Holes are laid out to reach the void and to lift each panel evenly. Mudjacking holes are commonly about 1.5 to 2 inches; foam ports are much smaller. Expect noise and some dust or slurry spatter around each hole.
Pumping and lifting
The crew pumps material into the first holes until the void fills, then continues in small increments while someone watches a level, a string line or a laser. A careful crew moves between holes rather than forcing one spot, which spreads the lift and reduces cracking risk. Slurry jobs often show slurry escaping at joints or edges; that is normal and gets cleaned up.
Foam reacts within seconds and expands as it cures, so the operator injects in short shots and lets each one settle. Lifting with foam can look slow and deliberate. That is a good sign.
The messy middle: the slab that will not come up
Sometimes a panel resists. It may be pinned under a neighbouring slab, a step, siding or a door threshold, or the material may be finding an escape route into a trench or under the house. Pushing harder is how slabs crack and foundations get loaded. A good operator stops, finds out what is holding it, and may need to saw-cut a joint or relieve an edge before continuing. Ask the crew to explain any stop before they restart.
After the lift
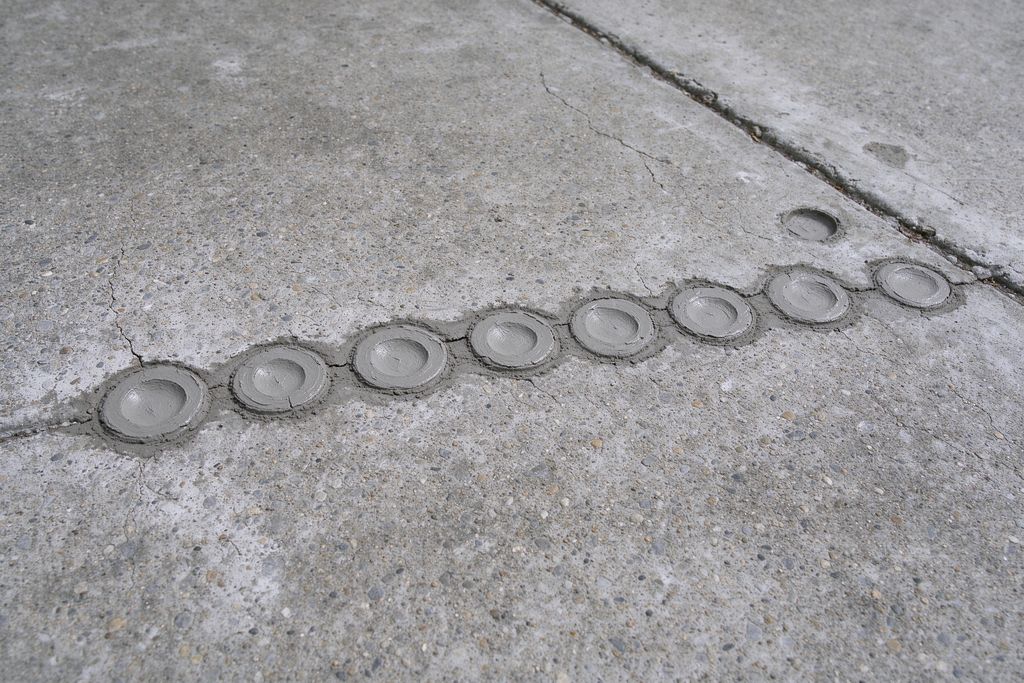
Holes get patched flush with a cement grout. Then the joints should be cleaned and sealed with backer rod and flexible sealant, as covered in the joint sealing and drainage guide. If that is not in your scope, it should be on your list for the same week.
| Method | Foot traffic | Vehicles |
|---|---|---|
| Polyurethane foam | Usually soon after | Often the same day |
| Mudjacking | Usually soon after | Commonly a day or more |
| Replacement (for comparison) | About a day or two | Typically about a week |
Final walk-through checklist
- Panels at agreed heightCHECKStraightedge across each joint.
- Slope runs the right wayCHECKPour a little water; watch where it goes.
- No new cracksCHECKCompare against your before photos.
- Holes patched flushCHECKNo raised or sunken patches.
- Joints sealed or scheduledCHECKWho does it, and when.
- Site cleanCHECKSlurry off siding, plants and the street.
A good lift day is unremarkable: careful layout, slow lifting, clean patches, sealed joints. Prepare the site, agree on targets in writing, and walk the job before the crew leaves.
Questions
How long does a slab lift take?
Many single-driveway or patio lifts are done within a day, but the time depends on the number of panels, the void size, access and the method. Ask the contractor for an expected duration in the written scope.
Do I need to be home on lift day?
Usually it helps to be there at the start to confirm the panels, walk the site for buried lines and sprinkler heads, and agree on where equipment will park. Ask the crew what they need from you.
Will the patched holes match my concrete?
Rarely exactly. Patches are typically cement grout and look slightly different from aged concrete. Foam ports are smaller, so their patches are less visible.